7:57 pm - 61 degrees - scattered clouds, light breeze...
Over the holiday weekend, I
decided that I wanted to finish out all the closets in our home with a wood
planking look.
Real shiplap is more than I
wanted to spend, but that’s the overall look I’m wanting in all the closets – it’s
a nice neutral texture that can be added to any space and can be styled in a
lot of different ways.
A popular technique to get the
shiplap look at a lower cost is to cut a piece of plywood into strips that you
nail to the wall just slightly spaced apart.
This will save you a few bucks, but on the down side you have to rip
plywood into perfectly straight strips and balance coins or spacers between
boards to get the perfect spacing which would make the project a lot more labor
intensive than I wanted to attempt.
So the best solution, at a
reasonable price, that I found was to use tongue and grove planks. It still gives me the look I was wanting and
it was incredibly easy to install.
Altogether - planks, wood filler, sandpaper, primer and paint totaled
just over $130 and the project took about 9 hours spread out over three days to
finish.
After a trip to the hardware
store for supplies, Tony and I started getting out all the tools I would need
for this project (I always have to get organized before I start a project).
What I used...
- 8 packs of v-groove pine wallplanks (6 planks to a pack)
- Tape measure
- Level
- Brad nailer with nails
- Putty knife
- Sandpaper
- Primer & Paint
The kids’ closets are 11’3”
wide by 2’7” deep with a back wall + slanted ceiling measuring 6’10” with three
door openings –-- soooo... there was a lot of measuring and cutting involved.
I started the first board in
the bottom left corner, used the level and a scrap piece of sheetrock to keep
the board half an inch off the subfloor (the spacing will allow for the future
installation of flooring) and nailed in the board using the brad nailer.
After serveral trips up and
down the stairs to cut boards, I quickly found my rhythm alternating the plank
lengths as I worked my way up the wall.
It took me somewhere between one and a half to two hours to get all the
planking up.
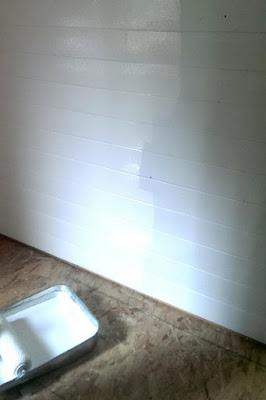
After the boards were up, I went back and filled all the nail holes and smoothed out the seams with wood filler. After the wood filler had time to dry, I went back and sanded all those spots smooth. Then paint! I used half a can of primer (one heavy coat + touch ups) and half a can Valspar Snowcap White (one heavy coat + touch ups).
 |
| He wanted to help so bad, so he's filling nail holes with wood filler. |
 |
| Putting on a coat of primer. |
 |
| Putting on the final coat of paint. Final paint on the left, primer on the right. |
 |
| All done! Love it! |


