.jpg) Like
catching fireflies in a mason jar, these jars catch sunshine to light up the
night!
Like
catching fireflies in a mason jar, these jars catch sunshine to light up the
night!There is no shortage of different versions of the DIY solar sun jar, but they all begin with the same basic components – a solar garden light, a glass jar, and some good old homegrown ingenuity.
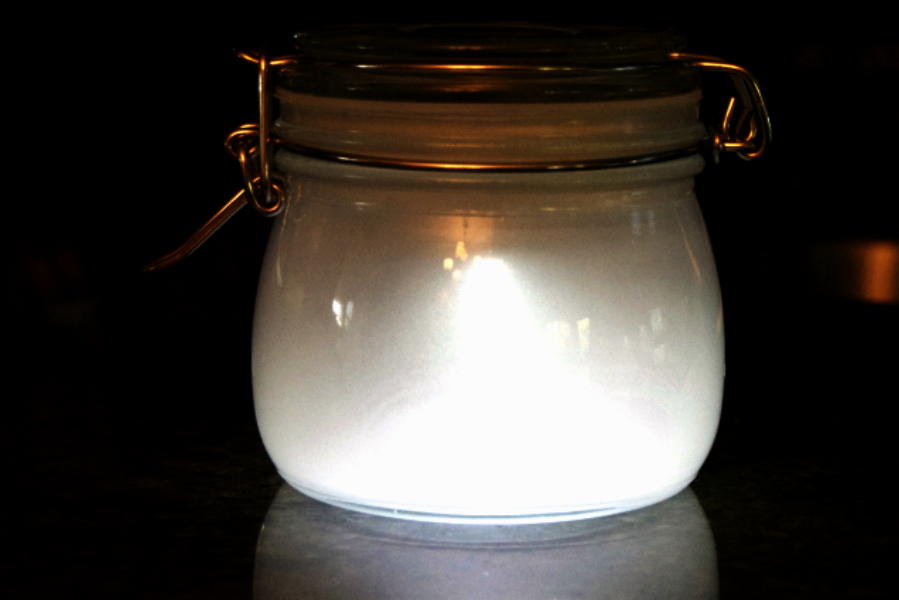
Each
sun jar absorbs sunlight during the day through solar cells in the lid. The container will automatically come to life
at night – softly illuminating via an LED light through its hand-frosted glass –
and last upwards of 12 hours with a full charge.
For each solar sun jar you will need:
- A small canning mason jar with a clear lid
- A solar garden light (the kind that sits on a stake)
- Glass frosting spray
- Clear silicone adhesive
- Masking tape
- Newspaper
.jpg)
For
jars, I used the IKEA Korken 17 oz. glass-topped canning jar ($2.99 ea) because
honestly it was least expensive glass-topped jar I could find. The fact that it’s a weatherproof container,
and it was extremely easy to mount the solar light inside, was just an extra
bonus.
Of
course the most critical part to keeping this project easy, is finding the
right solar garden light. Look for the
ones where the solar unit is a single, compact piece on the top of the fixture. I went with a solar garden light made by
Westinghouse that I found at Target ($1.99 ea).
Once
you have your jar and solar light picked out, you’re ready to begin.
Step 1
– Mask off the outside of the jar with newspaper and masking tape.
.jpg)
Step 2
- Spray the inside of the jar with frosting spray. {Note: Frosting the jar helps diffuse the
light and gives a nice glow. Spray
outdoors, away from wind, and in a well-ventilated area; shake the can
thoroughly before spraying; and keep the can moving slowly and
continuously. Finally, use a light touch
– the paint doesn’t show up well until it dries, so have faith and add a second
coat later if you need to.}
Step 3
– Unscrew the solar unit from the bulb and stake. Run a bead of silicone around the top edge of
the light unit and secure it to underside of the jar lid. Let it dry completely.
.jpg)
.jpg)
.jpg)
And
that’s it! You now have a solar sun
jar! All that’s left to do is place it
in the direct sun for awhile (or all day), and you’ve got the perfect light for
a child’s night light (this is what we’re currently using them for), outdoor party,
camping, patios, garden, balcony or... the list really is endless.
I was looking for a fun and practical project to do with my daughter’s Girl Scout troop at our beach campout this past weekend and this one turned out to be a huge hit with the girls!


